Volumetric product
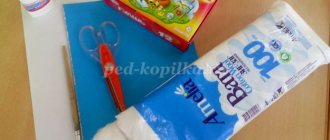
It will require white sheets, glue, colored paper (thick) or cardboard, and a glue stick. We will decorate with a purple felt-tip pen.
Let's cut out 7 squares.
Fold each square diagonally, then 2 more times diagonally.
This results in a triangular element.
We mark it and cut it.
This is what the expanded template looks like.
We paint them with a felt-tip pen, leaving 2 unpainted ones on each flower.
We cut off one of them.
Glue the petals together to make the flowers three-dimensional. Additionally, we press through all the fold lines again.
We assemble the workpiece. We place one with the sharp corners up. We glue 2 more blanks onto the side petals on each side. New elements are marked in red, and the lower part is marked in green. Next in the master class we mark with red dots those on which we glue new parts.
When gluing is completed, we cut leaves from double-sided paper - 4 large and 4 small.
Glue them onto the workpiece as shown in the photo. We turn over the remaining 4 molds and fix them on the reverse side. For clarity, we took sheets with one white side. The leaves should face each other with their colored side (so that when they open, everything looks right).
Glue it onto cardboard or thick paper folded in half. We fix only the outer petals (marked with a red dot).
Wait for the work to dry. It turns out to be a beautiful three-dimensional craft.
